Introduction
Clash is an open-source network tunneling application designed to manage and forward internet traffic. It supports various protocols like SOCKS5, HTTP, and HTTPS and is widely used for proxying and routing network requests to bypass internet censorship or for privacy enhancement.
Simplelink builds on Clash’s capabilities, offering a premium VPN service tailored for exceptional quality and speed, particularly in regions with stringent internet controls, such as China. Simplelink simplifies connecting to the internet securely and privately, boasting fast connection speeds and reliability.
Getting Started with Clash and Simplelink
Downloading the Correct Binary
- Visit the GitHub page for Clash.Meta at https://github.com/clashdownload/Clash_for_Windows/releases/tag/0.20.39
- Based on your Linux system architecture (e.g., amd64 for x64-based desktops), select and download the appropriate Clash binary.
| Typical Linux Architecture | File Download Name |
|---|---|
| x64-based Desktops (amd64) | Clash.for.Windows-0.20.39-x64-linux.tar.gz |
| Raspberry Pi 3/4 (64-bit mode) | Clash.for.Windows-0.20.39-arm64-linux.tar.gz |
| Odroid C2/N2/N2+ (arm64) | Clash.for.Windows-0.20.39-arm64-linux.tar.gz |
Unzip the downloaded Clash binary if necessary and make it executable:
$ tar xf Clash.for.Windows-0.20.39-x64-linux.tar.gzObtaining the Configuration File
- Go to https://wbsite.simpleapp.top and scroll to the bottom of the page to find the “Clash Subscribe” button.
- Click on “Copy Clash URL” to copy the subscription URL to your clipboard.
- Use the following command to download the configuration file as simplelink.yaml
$ wget -O simplelink.yaml 'PASTE_THE_COPIED_URL_HERE'Running Clash
- Navigate to the directory where you downloaded the Clash binary.
- Start Clash by running
$ ./cfw

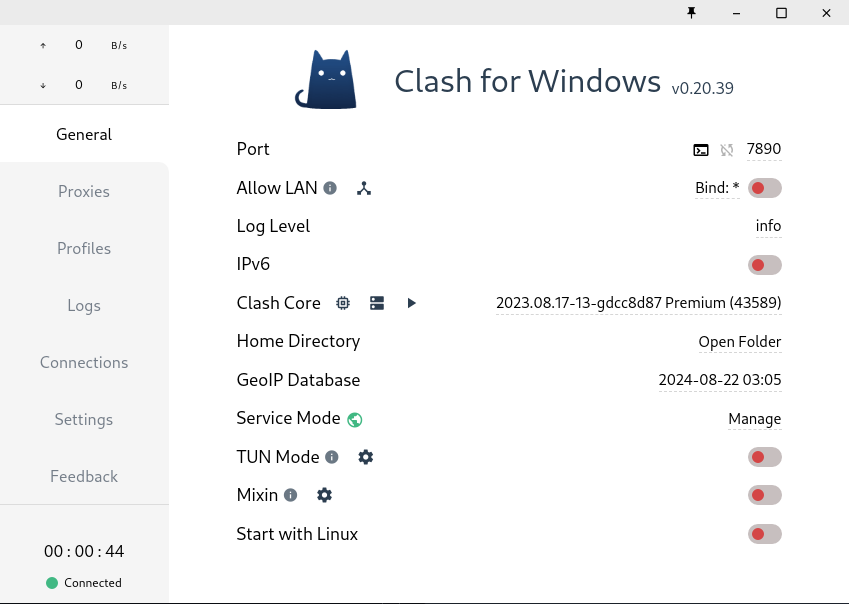
A window like the one below should have opened:


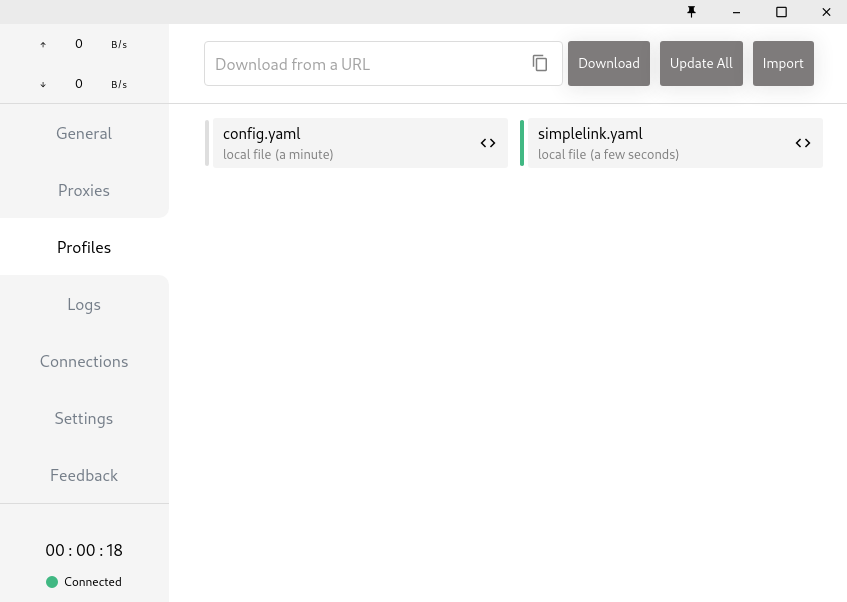
Click on the "Profiles" tab on the left menu, and after that, in "Import" in the top menu. Select the downloaded simplelink.yaml config from previous steps.

After importing the Simplelink profile, we need to activate it just by clicking on the new item. The screen should result as follows:


After that, go back to the "General" tab on the left and click on "TUN Mode" to enable proxying all traffic by default through the VPN:


Now, to change the output server, you can go to the "Proxies" tab on the left and select the server you want.
